Setup
Display subscriptions on the storefront and enable customer management entry points.
This page describes the common setup steps to make subscriptions visible to customers and to enable self-service management.
Reference (Shopify Help Center):
1) Create a subscription plan (selling plan)
Before adding the block to your theme, create at least one subscription plan in the app.
- In the app, go to Products → Subscription Plans.
- Click Plan (or Create) to add a new plan.
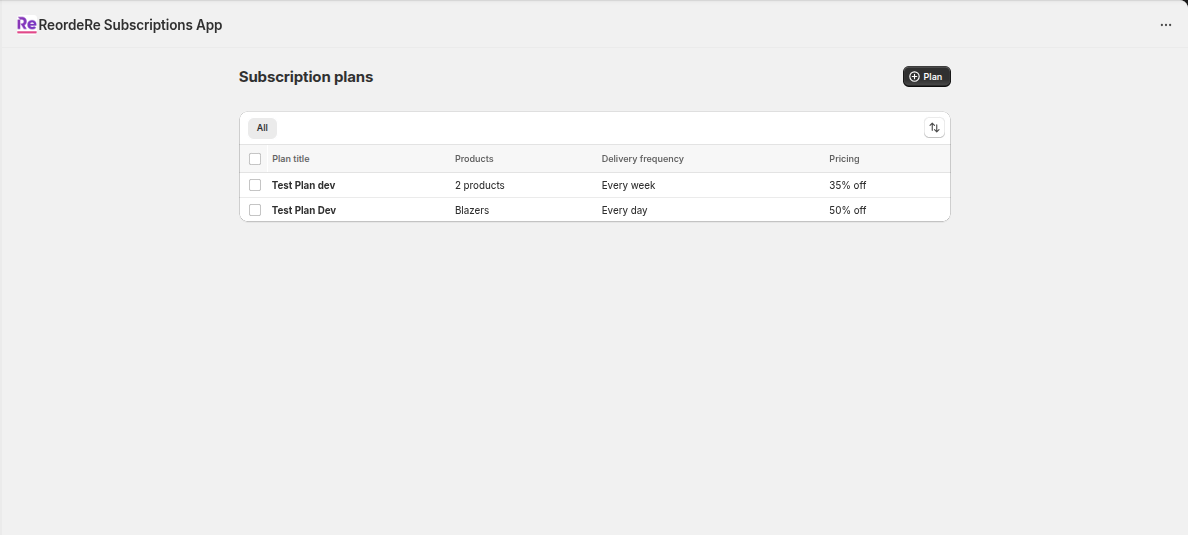
Example: the Subscription Plans list page in the app.
When creating a plan, you’ll typically:
- Enter the plan title and the customer-facing purchase option label
- Choose the products (or collection)
- Add one or more selling plans (frequency) and optional discount
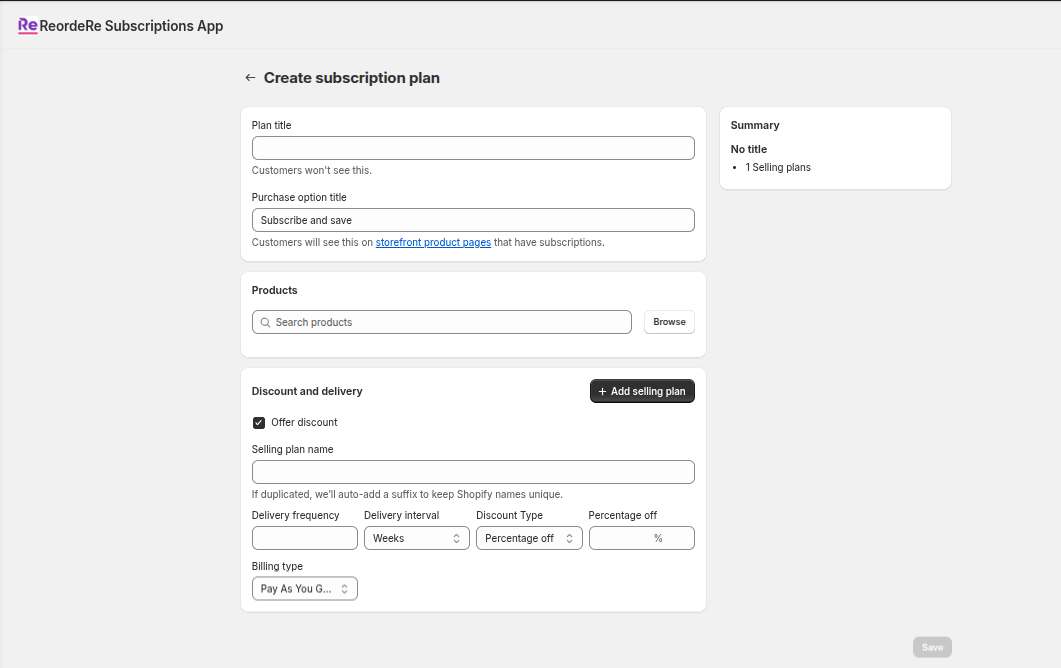
Example: the Create subscription plan screen with products, frequency, and discount.
2) Display subscription options on product pages
After you create subscription plans for products, add the subscription widget/block to your product template.
Online Store themes (recommended)
- In Shopify admin, go to Online Store → Themes → Customize.
- Open a product template.
- Under App blocks, add ReorderE Subscription Purchase Options.
- Place it near the product Add to cart area.
- In the block settings, choose the selling plan group you created (if prompted), then Save.
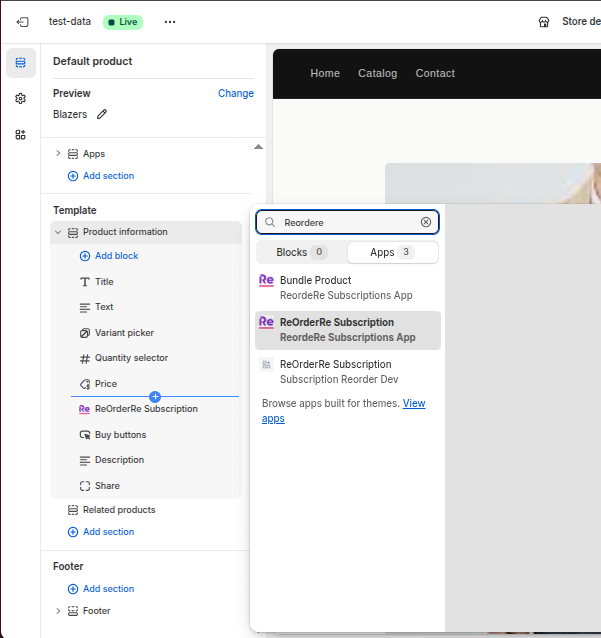
Theme editor example: adding the ReorderE Subscription app block to a product template.
After saving, your product page should show purchase options like One-time vs Subscription, plus the selected frequency.
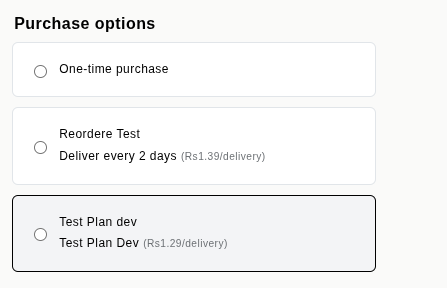
Example: purchase options shown on a product page.
If you don’t see app blocks in your theme editor, your theme might not support app blocks. In that case, contact your theme support/developer to enable app blocks for product templates.
App setup guide (in the dashboard)
The app includes a Setup Guide in the dashboard to help you enable blocks in the theme editor and customer accounts.
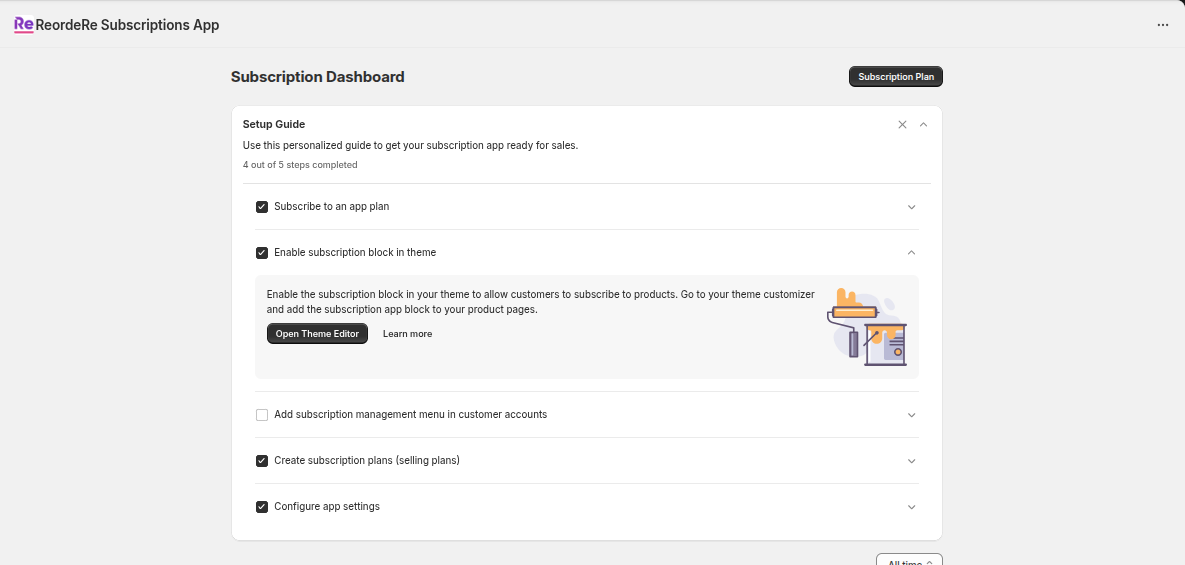
App dashboard example: the Setup Guide checklist for enabling theme and customer account blocks.
3) Add a subscription policy
When subscriptions are enabled, your store uses a purchase options cancellation policy (sometimes shown as a subscription policy) that customers must accept during checkout.
- Review and customize your policy text in Shopify admin settings.
- Test checkout to ensure the policy appears as expected.
4) Add customer subscription management entry points
To help customers find and manage their subscriptions, add subscription management blocks in the checkout/accounts editor, such as:
- A dedicated subscription management page in customer accounts
- An order action button on Order / Order status pages
- A “manage subscription” link on the Thank you page
These blocks provide entry points into customer self-service flows.
5) Configure failure handling (recommended)
In the app, go to Settings → Failure Handling to configure what happens when payments fail or inventory isn’t available.
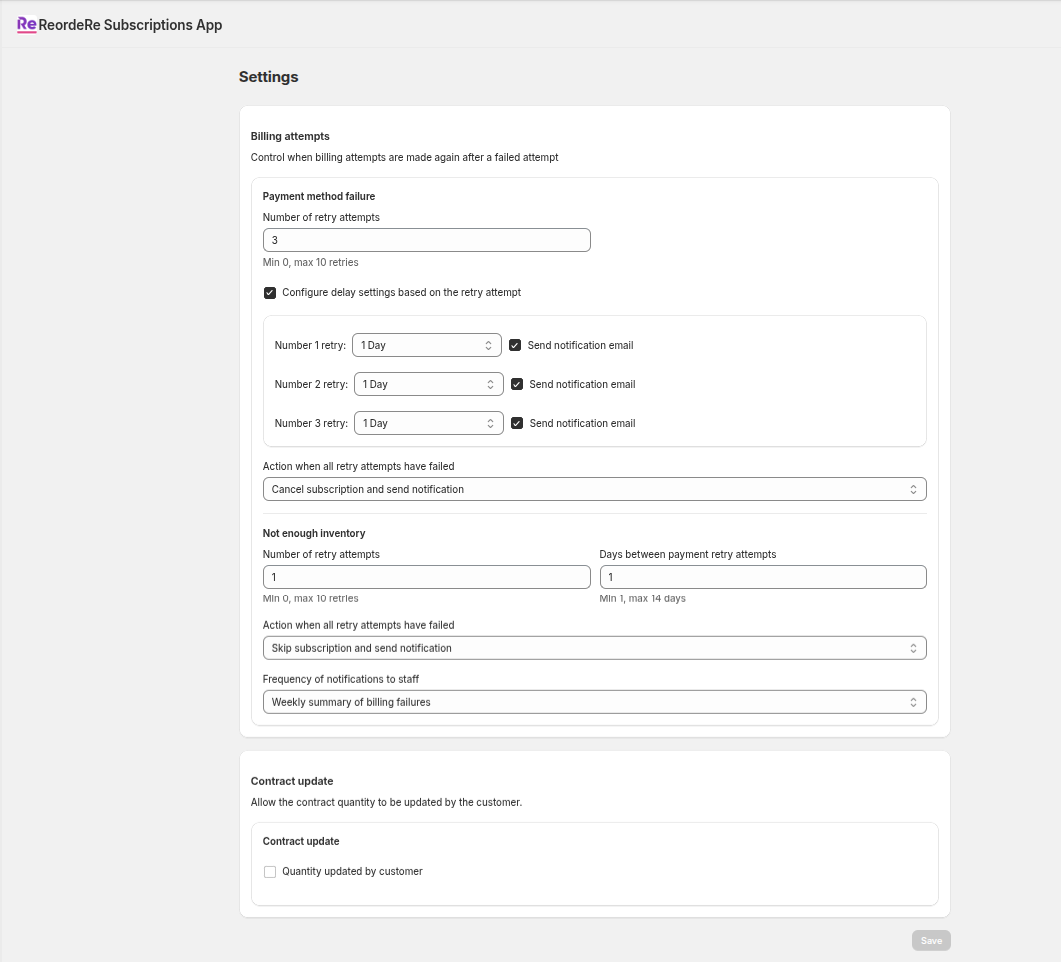
Example: configure payment retry attempts, delays, and what happens after the final retry.
Typical options include:
- Automatic payment retries (for example: retry after 1, 3, and 7 days)
- What to do after the final retry (pause, cancel, or notify)
- Inventory retry settings (how often to retry and how long to keep trying)